September 21, 2015 – Beginning Bookmaking

We met on an extremely hot day and met early to beat the heat. The subject for our September meeting was making covers for handmade paper notebooks. Frank Mikulastik was our fearless leader. Frank makes 40 pieces of handmade paper in his kitchen on Sunday afternoons!  Frank is a good teacher and showed us how to size a cover for the size of the paper, told us what materials to use and showed us how to sew a signature into a cover. He is quite inspiring with his own indigo dyed notebook covers.

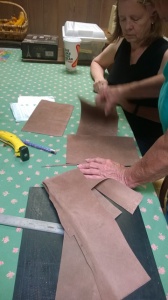
Sandy brought some leather that we cut for notebook covers. She was able to cut them to size with a metal ruler and a box cutter. She made them big enough for two signatures. It is a nice pliable soft leather and will be great for notebook covers.

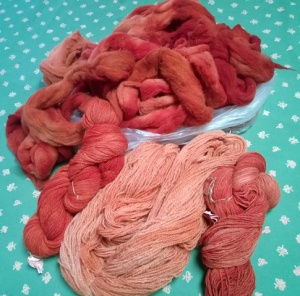
Sharolene shared her madder dyed fiber that she dyed in the last few weeks, linen towel that she just pulled off the loom and cotton from the garden. The madder process was
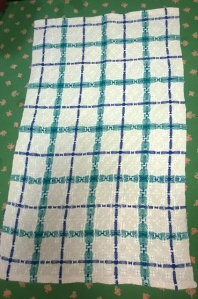
Sharolene's Linen Kitchen Towel, just pulled from the loom.
Sharolene’s Linen Kitchen Towel, just pulled from the loom.
Madder from Phyllis' and Sharolene's garden were used to dye this yarn.
Madder from Phyllis’ and Sharolene’s garden were used to dye this yarn.
Sharolene's madder dyed fiber. Madder was dug from Phyllis' and Sharolene's gardens.
Sharolene’s madder dyed fiber. Madder was dug from Phyllis’ and Sharolene’s gardens.
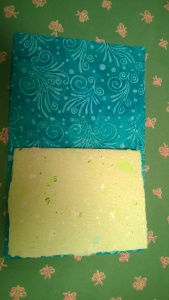
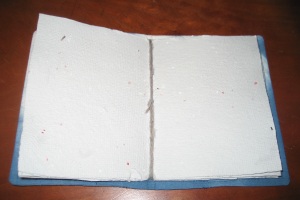
Notebook made with handmade paper and store bought batik fabric cover.
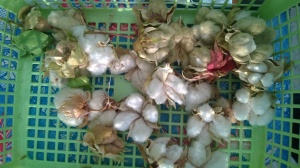
Homegrown cotton
Sharolene’s Homegrown cotton
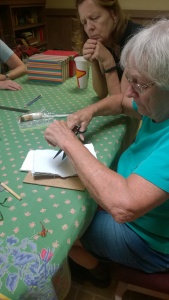
Sandy making her handmade paper notebook.
Leather cutting for notebook covers
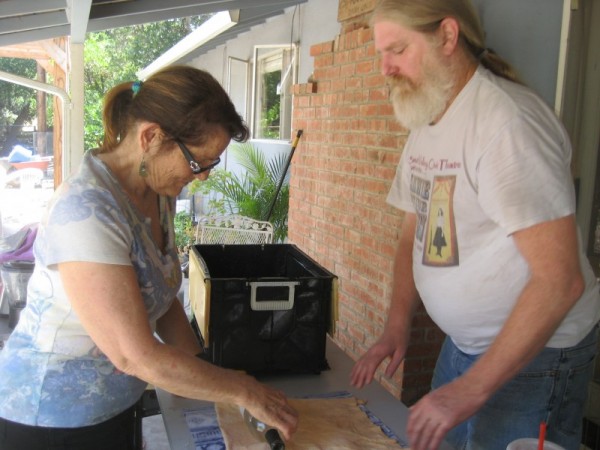
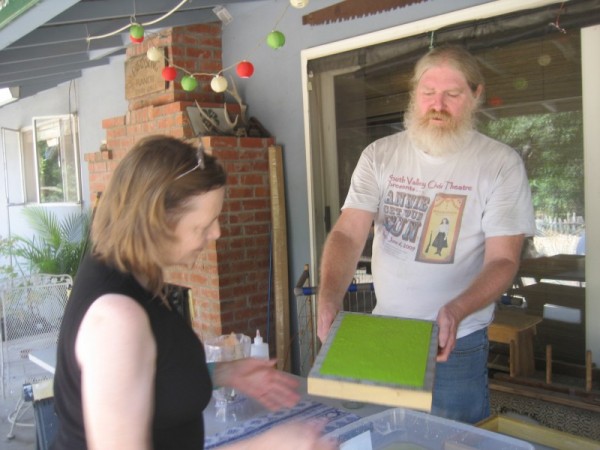
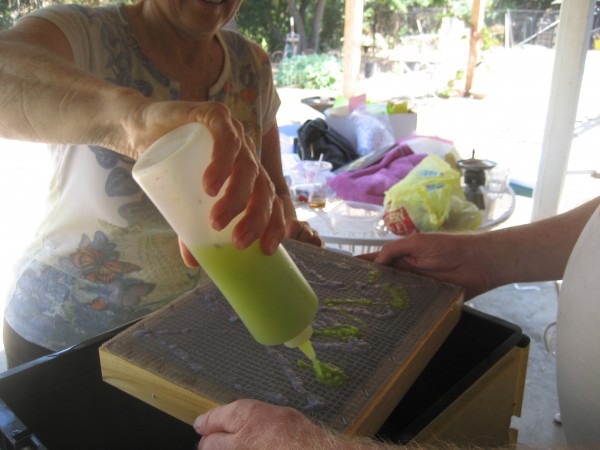
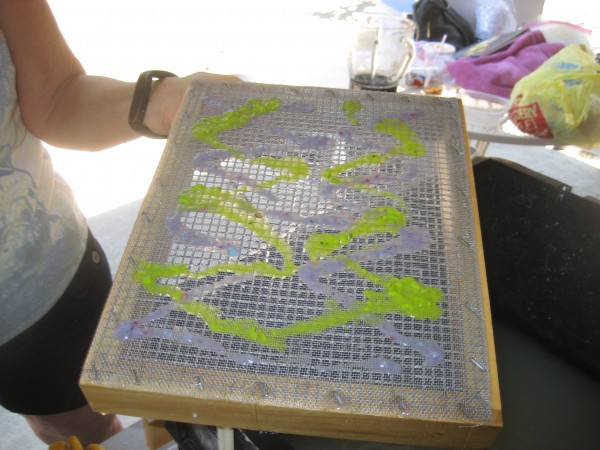
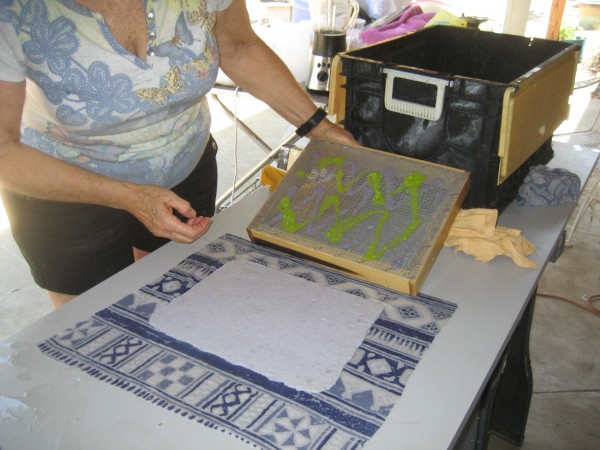
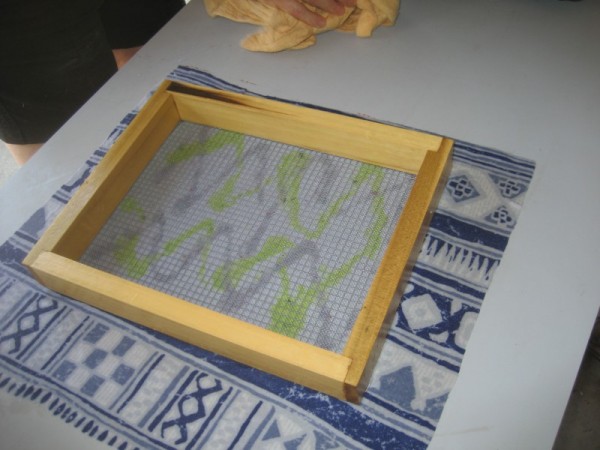
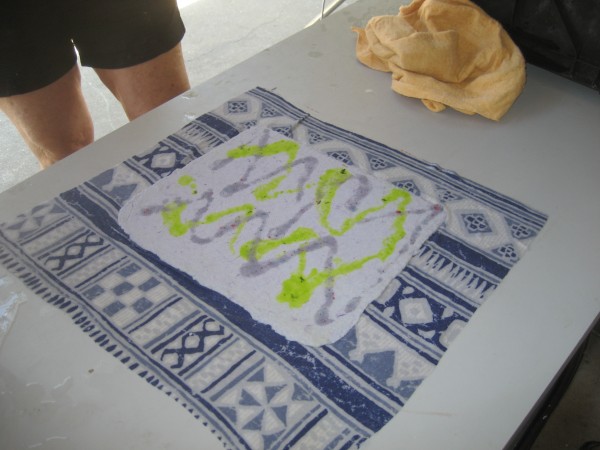
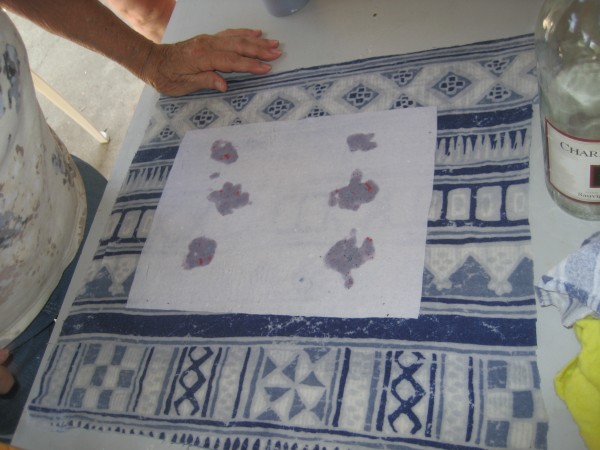
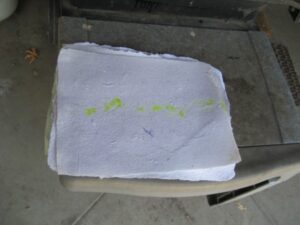
The designs on the paper were from liquidized paper, squirted on after the paper was made.
Frank used a cut plastic bottle and poured liquid paper into it for the designs.

Attendees at meeting were:  Phyllis, Frank, Sharolene, Sandy, Marsha and Carol Lewis (new member).

August 2015, Paper Making on a hot day

A post from last August when Frank lead a day of recycling paper.
Next month we make books out of the paper that was made!

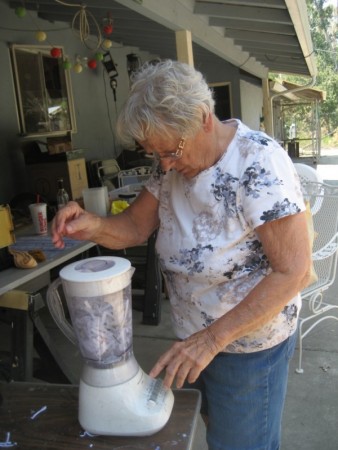
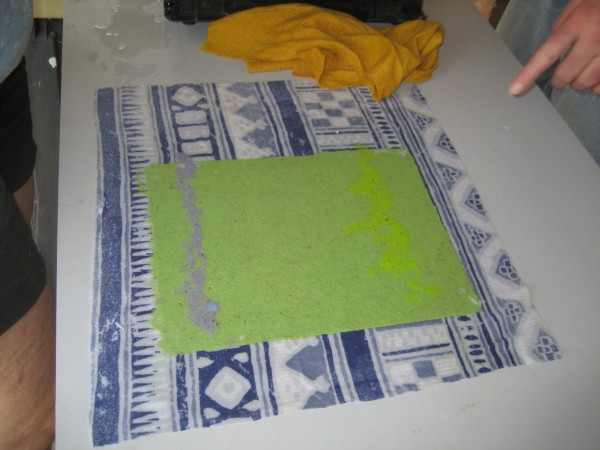
We used a 2-layer technique to paint on a piece of paper with different colored paper.  Yes, painting with paper pulp not paint.

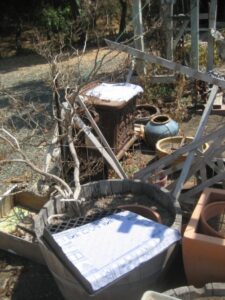
Paper was drying everywhere, even in the bird garden. Lots of paper was made and will be made into books next month!

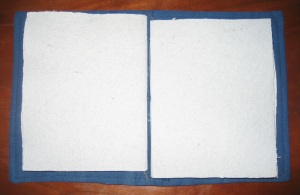
Frank’s Refillable Cloth Book Cover

Materials : cloth, fusible interfacing, thread, signature booklet, sewing machine.

IMG_1875_b

IMG_1877_bI

I used hand spun yarn to hold the single signature in the cover.

IIMG_1878_b

If You wanted to have 2 or 3 signatures in the book, the cover would have to be wider and you would need more yarn loops to hold them more signatures in.  These are minor adjustments once you understand how to make the single signature book.


Frank’s May Dye Project

I decided to do 2 small pieces 18 X 11 inches.  These will be used for covering the covers of handmade books.

Piece #1 I accordion pleated the long way with 1 1/2 inch pleats, giving me an 18 inch strip 1 1/2 inch wide.  Then I pleated the the other direction in 1 1/2 inch pleats.  This gave me a cube  that I tied several times around both directions.

Piece #2 I accordion pleated the long way with 1 inch pleats, giving me an 18 inch strip 1 inch wide.  Then I tied the strip about every 2 inches.

Shibori tied cloth, ready for indigo bath.

I then dipped them in the indigo 3 times;  The 2nd and 3rd time I dipped Piece #1, I opened the folds on the corners slightly.

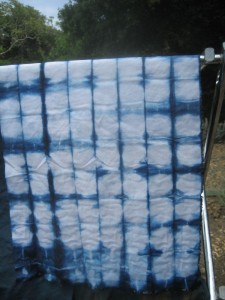
Piece #1
Piece #1
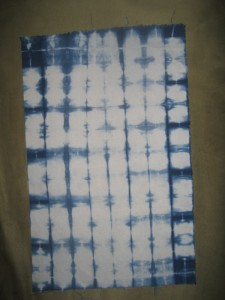
Piece #2 right after one indigo dip.

Our dye pot was Strong so I only left the pieces in for 1 to 2 minutes.

This after 1 dip of 1 minute

Here are the pieces wet.

Piece #1 wet
Piece #1 wet
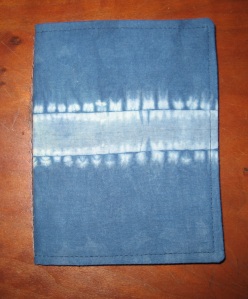
Piece #1 rinsed and dry
Piece #2 wet
Piece #2 wet
Piece #2 rinsed and dry


Very little dye rinsed out and there is no crocking. As you can see the darkest blues are almost as strong dry as they were wet!