Natural Dyes: Our Results

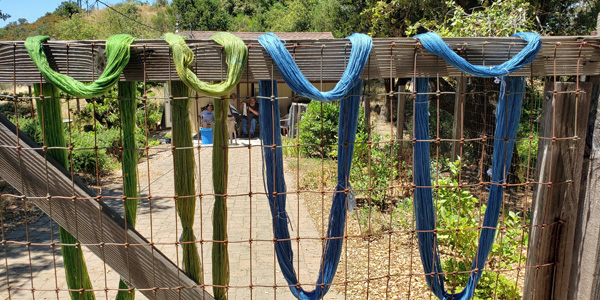
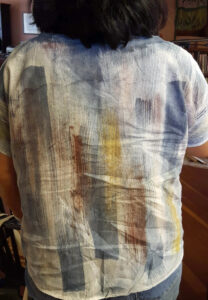
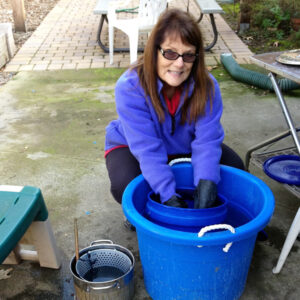
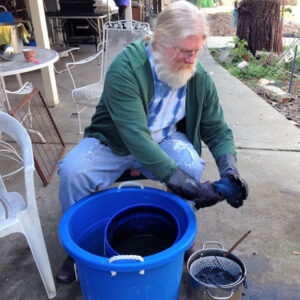
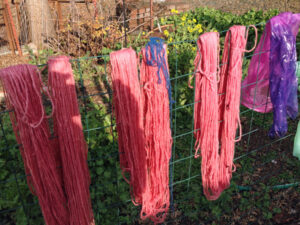
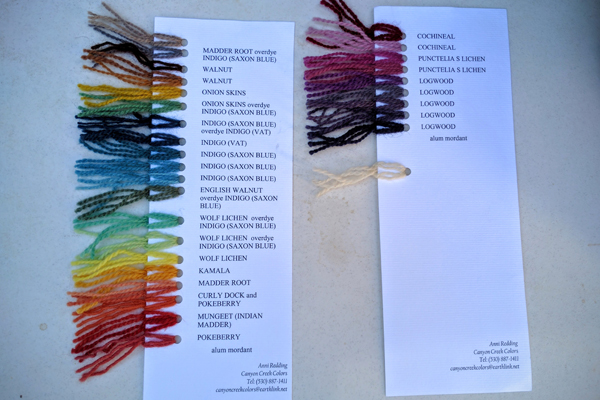
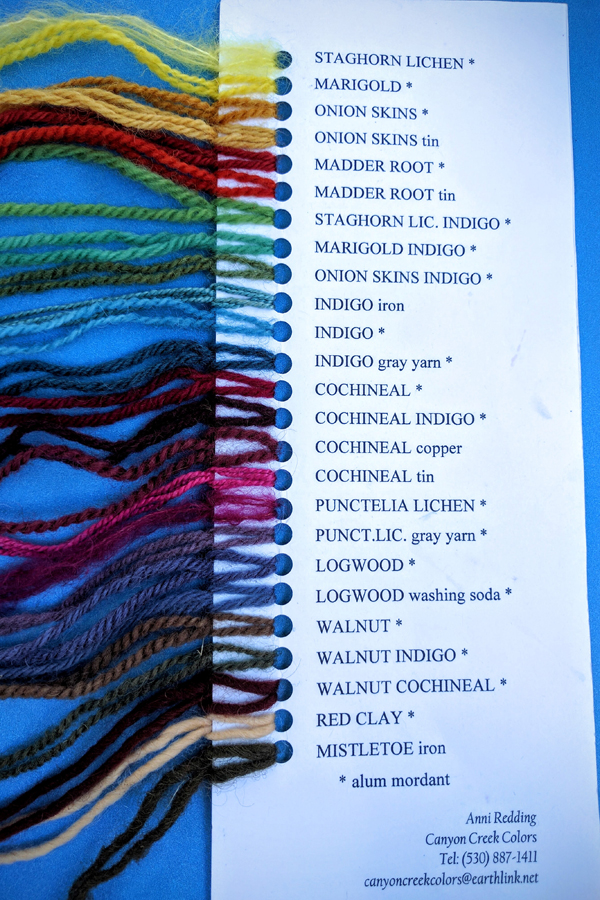
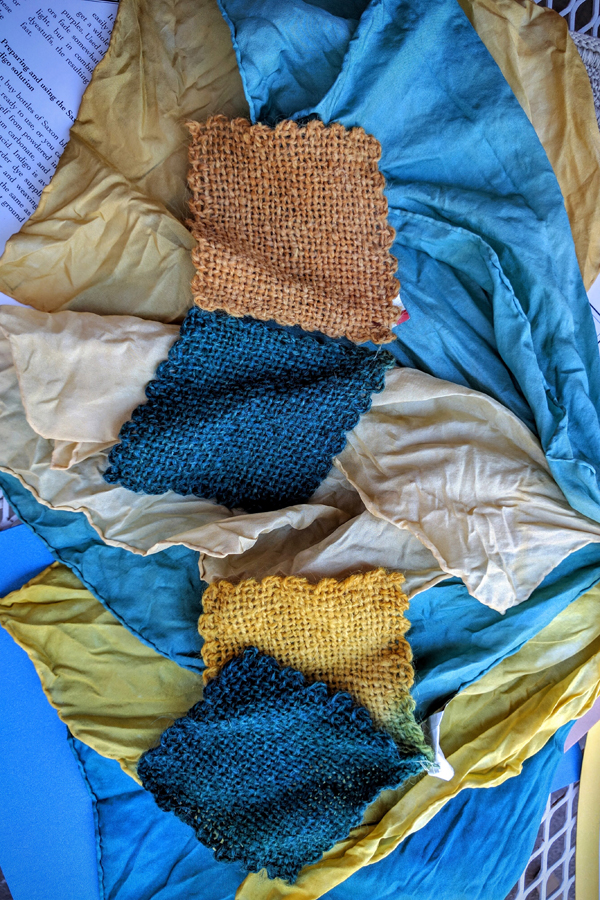
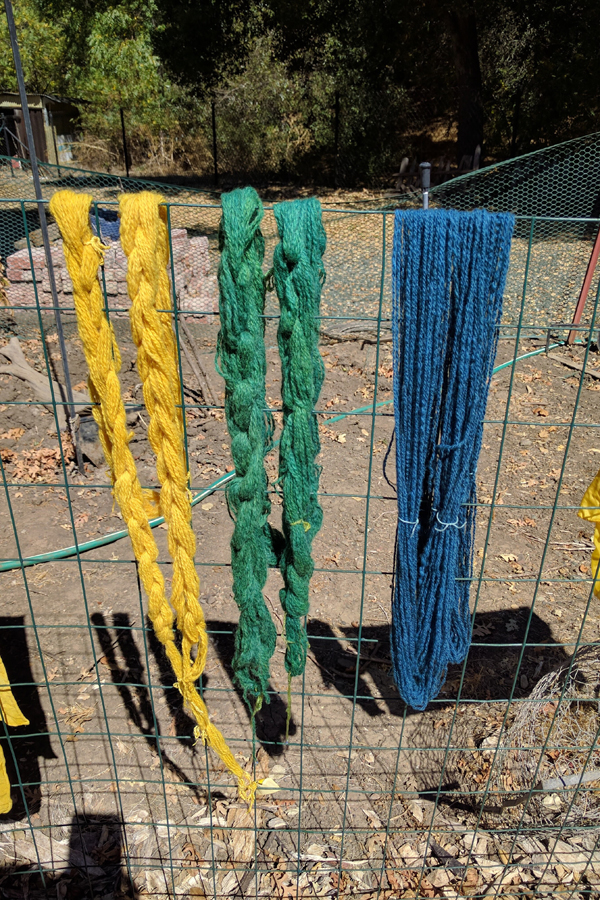
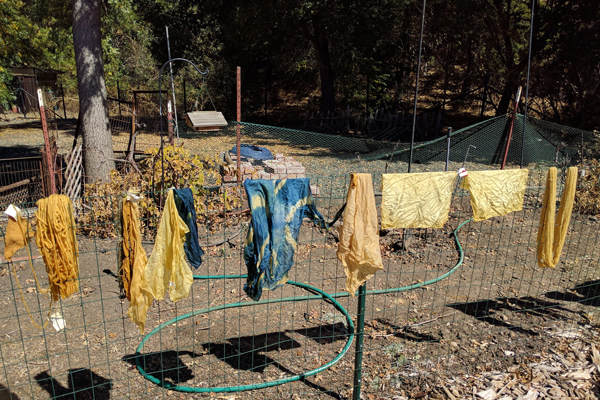
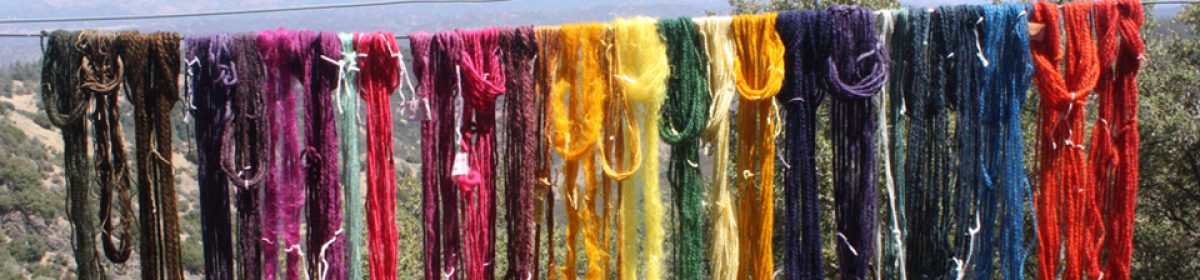
Today we surveyed the results of our recent project and divided our skeins among our members. In recent months we have experimented with indigo, weld, osage orange, cochineal, and walnuts. Here is what we have.

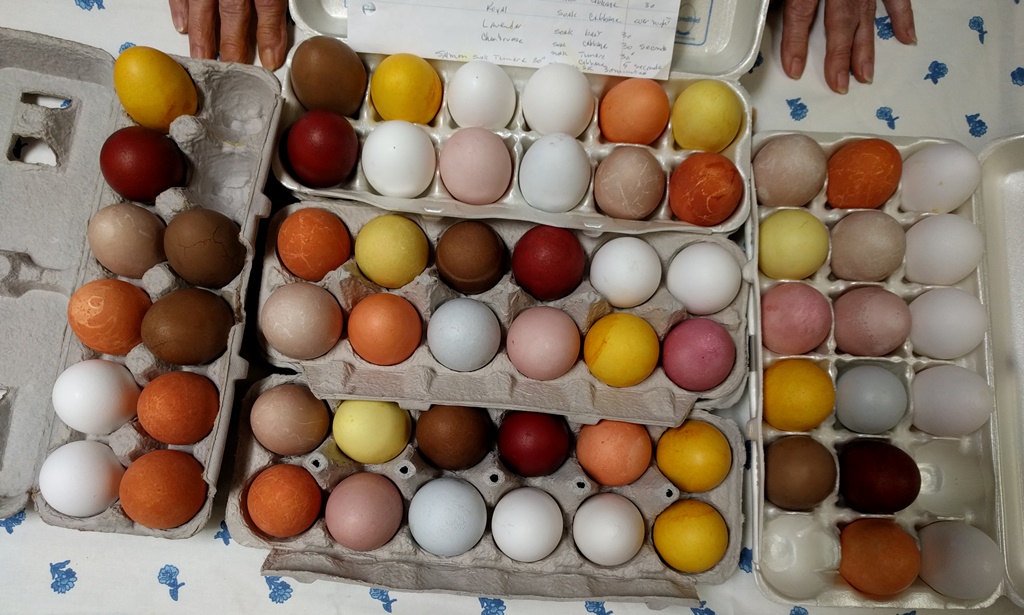
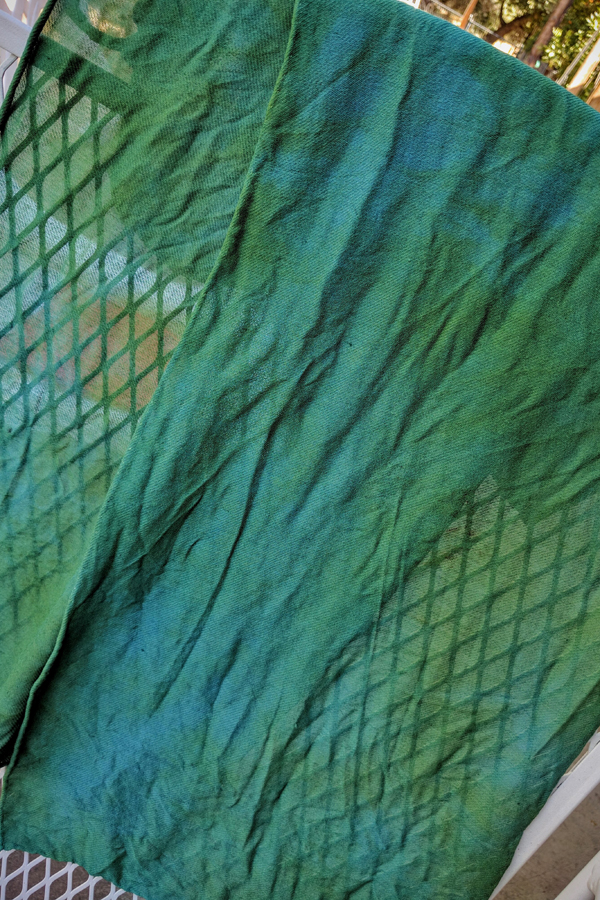
  • Weld mordanted with soda ash to adjust the pH and boiled (top, left)
  • Osage orange – we found that pH matters (bottom, left)
  • Osage orange overdyed with indigo (top, second from left)
  • Weld overdyed with indigo (top, third from left)
  • Indigo overdyed with walnuts (top, fourth from left)
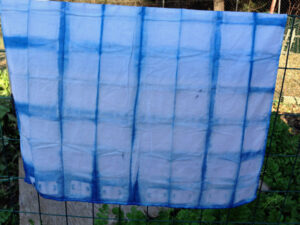
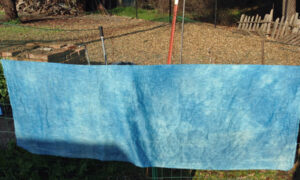
  • Indigo dipped three or four times for two minutes (top, fifth from left)
  • Indigo dipped once for two minutes (right end)
  • Light indigo overdyed in cochineal afterbath (bottom, right)
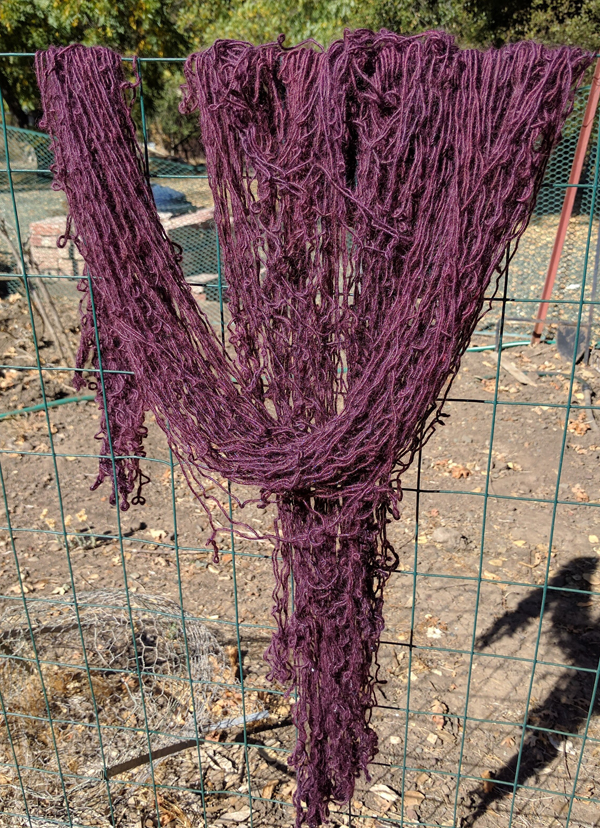
  • Cochineal mordanted with cream of tartar to adjust the Ph dipped for ten minutes (bottom, second from right)
  • Cochineal mordanted with cream of tartar to adjust the Ph dipped for one hour (on reel)
  • Cochineal overdyed with black walnuts (lower row, center)
  • Indigo overdyed with cochineal (bottom, second from left)

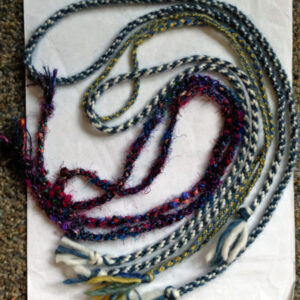
We also put together a goodie basket to be sold at the raffle for the Conference of Northern Califiornia Handweavers (CNCH) conference in 2020. Here is what we have so far.

A lovely day with much accomplished!

A Blue Sunday

We started our natural dye project in earnest. This will give us colored wool to use in the tapestry project we have started. This month we activated our indigo pot. We have one that we store in a covered pot so as not to waste any of our indigo, We bring the pot out several times a year. Normally we do this outside in the summer. This helps bring the temperature of the pot to an appropriate level by using some sunlight and allows us to do the entire process outdoors. We are dyeing carefully weighed wool skeins that we will continue to use in upcoming months to over-dye with other colors to get a number of colors to use in our tapestries. Some have already been dyed another color and we will overdye them with indigo blue.

The indigo bath must achieve the right pH and the right temperature in order to successfully produce color. We heat it if we need to and add commercial dye remover until we achieve the appropriate pH. We must be careful not to introduce oxygen into the pot which, amazingly, looks like its green, not blue.

dipping a yarn skein into an indigo dye bath

When the yarn is removed from the pot, it looks green. But as it gets oxygen from the air it starts turning blue . It’s magic!

But the yarn that had already been dyed yellow turns green!

four skeins of blue and green yarn drying on the fence

This is just the beginning! More colors to come.


August 26, 2018 – Ikat and More


Today we learned about removing the warps we have been carefully tying In patterns that will resist dyes from the frames. This will make them ready to dye with indigo next month. Our warps were mounted on frames with dowels that stretched them back and forth on the frames. This made it possible to tie our resist patterns efficiently for several repeats with one tie rather than having to tie it several times down the entire length of the warp. Each time the warp was doubled back on itself on the frame, it was held in place by a new dowel that was placed behind two pins at that end of the frame. Depending on the length of the warp, this meant there were multiple dowels holding the warp.


We started by placing ample loop ties through the warp wherever we had a dowel holding the warp to the frame. After doing this, we carefully removed the dowels and gathered all the loops from both ends in one hand. This will permit us to lower and then retrieve the warp in our indigo dye pot when we dye it next month. Multiple dips will allow us to control the depth of shade of the indigo. So check back next month to see how we are doing.


You may remember that last month we experimented with some natural dyes from Earth Pigments. After mixing our dyes and learning the process of using the dyes, we took our sample dyes home. Everyone had a limited range of colors to use. Some of us had some amazing work to show and information to share about what worked best for us. Here and some of our results.

Frank stamped patterns on a number of swatches of cloth. He learned which colors work best when used on top of other colors and came up with an amazing number of objects to use as stamps for his swatches. Here are six of his swatches.

Sandy had studied the cave and wall art of our very early ancestors and honors them by copying some of their figures on T-shirts that use the colors of the earth.

Ann also choose to create garment art. Using the stamping technique for the front, she found some of the color had leaked onto the back, despite using a separator to keep this from happening. So she picked up a brush and painted her colors on the back.

Next month: an indigo dye pot and who knows what else!


Dyeing with Earth Pigments

Today’s meeting found us experimenting with earth dyes. First we painted our fabric with fresh soy milk (see http://box19.ca/maiwa/pdf/EarthPigments.pdf ) in the areas where we wanted to use our dyes.

While we hung them out to dry, we chose our colors from The Dye Works natural pigments.

jars of dyeUsing a teaspoon of pigment mixed with a tablespoon of soy milk to dampen it, we made our initial colors stirring to make sure the pigment was thoroughly dissolved. stirring pigments with soy milkWe put our colors in small containers, carefully labelled them and tried to decide how we would decorate our fabric. storing pigments in containersAfter the pigments have been thoroughly dissolved, we found some thickened after setting. There still needs to be gum tragacanth thickener added to all the pigments to keep the pigment suspended and to prevent bleeding. It may also help make delicate designs easier to apply to the fabric.

Everyone will take the items we have prepared and decorate their fabric. We will post the results of this experiment in the future.

July 16, 2017 Ice Dyeing Day

Sandy and Shar lead us in a hot day of Ice Dyeing.

These are pictures of Frank’s work.

Scrunched
Pleated and then rolled
The small one is scrunched. The larger one is pleated and rolled.
Fold into quarters
flower sack towel folded into quarters.

I was surprised how light the final colors are, especially on the flower sack towel.  I let the pieces sit damp in a plastic bag for 24 hours.  I rinsed by hand and then washed in the washing machine with hot water.

I liked the affect when I folded the flower sack towel into quarters.  It made the quarters look similar.

My favorite was the pleated and rolled piece.  I think it is the strongest design.

May 21, 2017, Meeting

On this warm day we met to once again experiment with our indigo pot. There were seven of us: Phyllis, Sandy, Sharolene, Ann, Anne, Natalie, and Laura.

indigo dyed garments hanging on the fence


Ann’s shawl on the left was originally bright pink until it was dipped into the indigo pot. And her shirt on the right was bound into pleats with rubber bands at the neck and the hem for a decorative resist when in went into the pot.

Natalie, one of our new members, is also learning to spin on a wheel that has a history and is in need of some tweaking. Several of us helped her determine that there was a bit of a wobble when the wheel went round but we think she can make an easy fix.

old spinning wheelShe was also able to experiment with a simple resist pattern dipped into the indigo pot.

a cloth decorated with areas of white on a blue backgroundLaura was our guest who has been fascinated to learn more about indigo. She changed some items in her wardrobe from white to rich indigo blue.

three tops dyed with indigoWe experimented with immersing items in the dyepot for a longer period of time versus repeated dips to see if there was a color difference. There did not appear to be but we will see if the color fades less in the one we left in the pot longer.

We also discussed ways to connect with others like Natalie and Laura who might like to share in our adventures with spinning, dyeing, and weaving. A very nice day!


April 9, 2017 Meeting

Naturally dyed eggs
Ann, Phyllis, Sandy & Marcia looking on their handiwork.


IMG_20170409_153321
Food Safe Dyed Eggs

This meeting was our pre-Easter one where we decorate eggs in some manner. This year, we decided to dye them with food dyes (as described below). We got a great bunch of colors that were mixed according to Martha Stewart’s instructions from her website. Attending the meeting were: Ann, Phyllis, Sandy, Marsha (pictured), Frank (taking the picture) and Sharolene.

The eggs we dyed were colored with beets,  red cabbage, turmeric, onion skins  and coffee. The pale ones are blue and lavender. The dark colors were boiled for 30 minutes and the light ones were raw eggs soaked in the dye for 30 minutes. The ones we consistently turned were scratched and the ones we left alone came out nicer. We all agreed that it was a lot of work and a fair amount of wasted food but we learned some interesting things. Next year we are using the colors we liked the best and designing the eggs with leaves and wrapping them with color: Hint to all, If you ever have an occasion to cook red cabbage put a couple of white eggs in the pot at the same time and see what a pretty color you get.  Then you can eat them.

January 2017 Meeting

We had our usual indigo dye pot and a cochineal dye pot as well. (Cochineal comes from a small beetle that lives on cactus pads!) We are also making kumihimo lanyards for the Conference of California Handweavers (CNCH) meeting in 2018. Here are some photos of some of our efforts. Of course, Phyllis’s dog Flicka had to take a look too.

September 25, 2016 – Natural Dye Workshop with Anni Redding

Using natural osage orange, cochineal, and indigo to produce a wide range of colors.

We met, as usual, in Phyllis’s back yard on one of the hottest afternoons of the year. We came prepared with fibers and fabrics that had earlier been soaked in an alum solution (called a mordant in fabric talk). There are various elements that can mordant fiber. All help the dyes fix to the fabric and often affect the kind of color the dyes provide. Alum is a safe and easy-to-use mordant.

We are always interested in learning what we can about using natural dyes produced by plant and animal products as opposed to dyes created in a chemical lab. People have used these dyes for thousands of years to provide color in there fabric and sometimes even to paint their bodies. (We are sticking to just the fabrics.) Today we are using osage orange (Maclura pomifera) twigs and cochineal (Dactylopius coccus) produced by tiny bugs that live on cactus plants. We will also use some indigo (a plant dye that produces blue) on some of our fibers after they have been dyed yellow or red.

Anni introduced us to the wide range of colors that can be produced by natural dyes.

We then set to work with our own fibers. Here are some of the results of our day of dyeing.