April 9, 2017 Meeting

Naturally dyed eggs
Ann, Phyllis, Sandy & Marcia looking on their handiwork.


IMG_20170409_153321
Food Safe Dyed Eggs

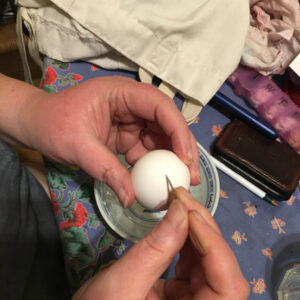
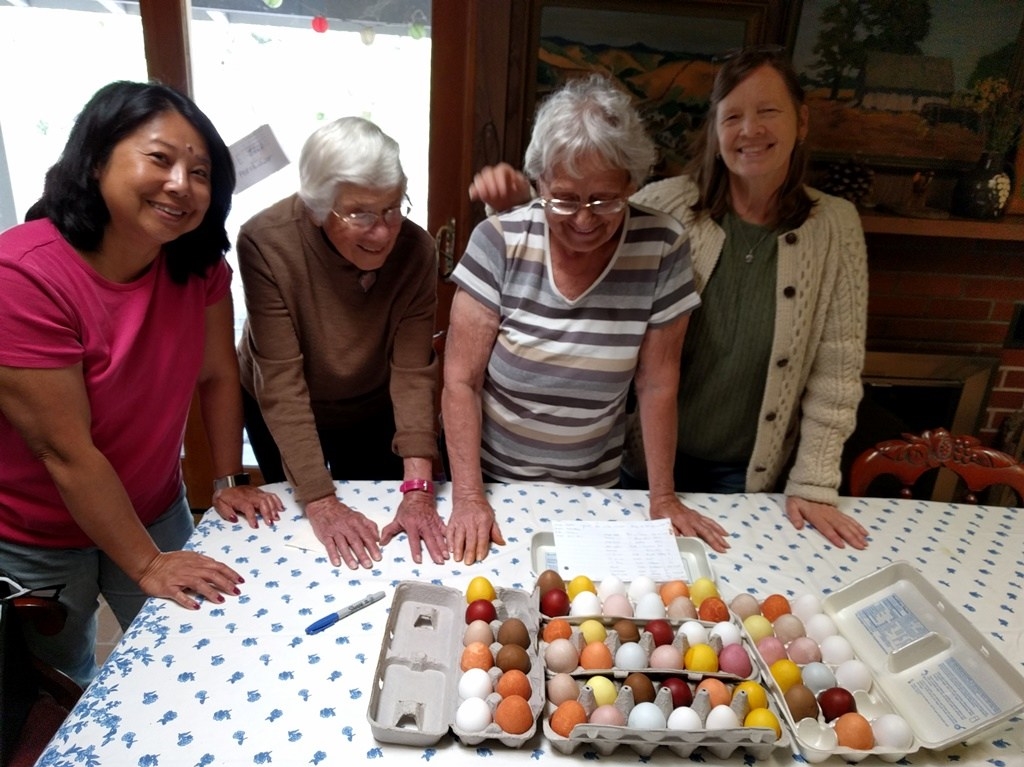
This meeting was our pre-Easter one where we decorate eggs in some manner. This year, we decided to dye them with food dyes (as described below). We got a great bunch of colors that were mixed according to Martha Stewart’s instructions from her website. Attending the meeting were: Ann, Phyllis, Sandy, Marsha (pictured), Frank (taking the picture) and Sharolene.

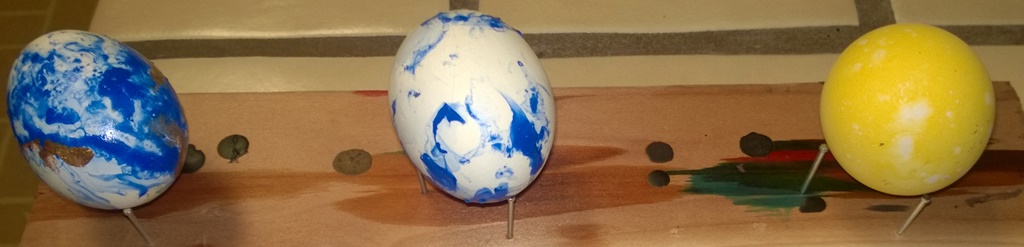
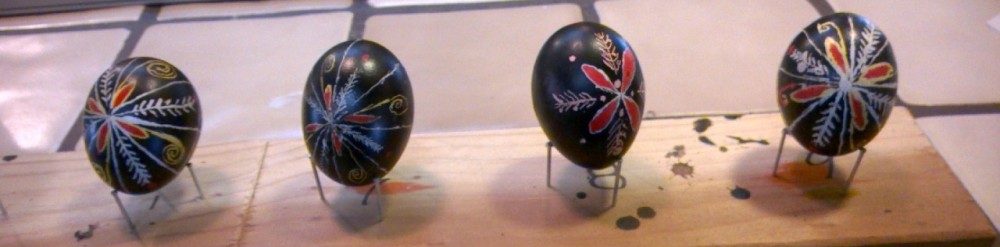
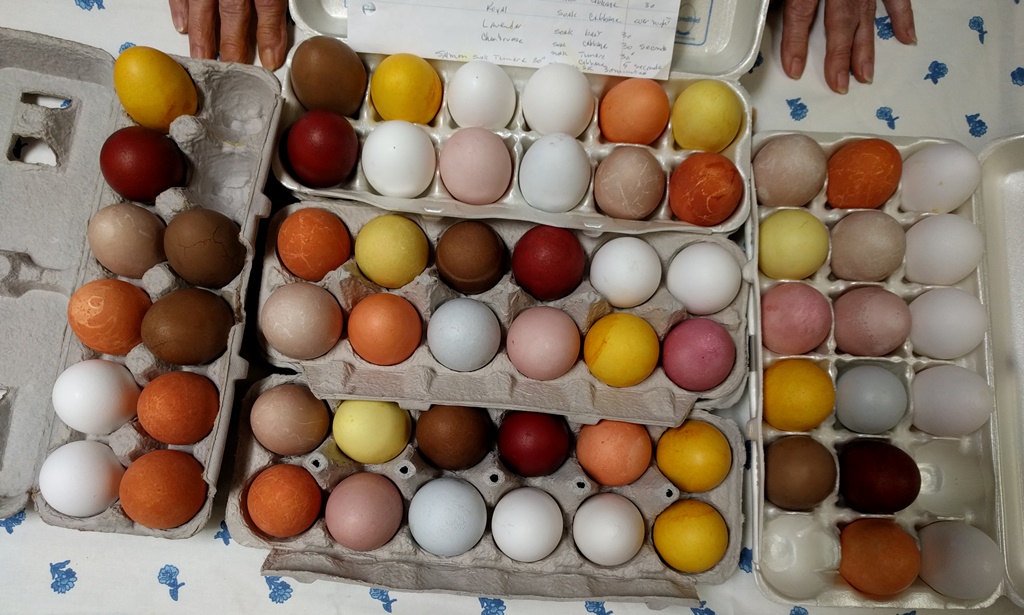
The eggs we dyed were colored with beets,  red cabbage, turmeric, onion skins  and coffee. The pale ones are blue and lavender. The dark colors were boiled for 30 minutes and the light ones were raw eggs soaked in the dye for 30 minutes. The ones we consistently turned were scratched and the ones we left alone came out nicer. We all agreed that it was a lot of work and a fair amount of wasted food but we learned some interesting things. Next year we are using the colors we liked the best and designing the eggs with leaves and wrapping them with color: Hint to all, If you ever have an occasion to cook red cabbage put a couple of white eggs in the pot at the same time and see what a pretty color you get.  Then you can eat them.

March 20, 2016 – Egg Decoration

We had a fun meeting yesterday decorating eggs. Attendees were: Sandy, Marcia, Phyllis, Sharolene, Frank, Sage, Aviva, Ann, and Elaine. Sharolene tried some unsuccessful indigo dyeing on some mystery fabric, Aviva and Sage knitted, Sharolene and Sandy did egg decorating.  Sandy dyed one egg in some older yellow dye, which worked fine, although the dye itself was not reusable any longer. Sharolene and Sandy experimented with a new to them method of dyeing eggs with fingernail polish. It was quite simple. The fingernail polish floated on the surface of room temperature water and the eggs laid on top and the polish stuck to the eggs in delightful ways.  Ann used a silk transference technique where she tightly wrapped an egg with silk and then boiled in vinegar water for 30 minutes. This process transferred the dyes from the silk to the egg. Beautiful.

P1000556eggs1

Easter Egg Dyeing

We are planning to dye eggs for Easter at our meeting tomorrow. Although we have done this before, sometimes the hard boiled eggs have not fared well. One of our members has given us a tip on how to prepare our eggs for a longer lasting outcome. Here are her instructions:

I do a larger hole on the big end and just a little hole on the small end of the egg; scramble the yolk with the needle, and blow things out the bottom. We always rinsed ours. Bring copper wire to make a ring-and-handle big enough to press your egg down into your dye-cup while it fills with liquid, and to hold it up while it drains again.


We will be posting our results!