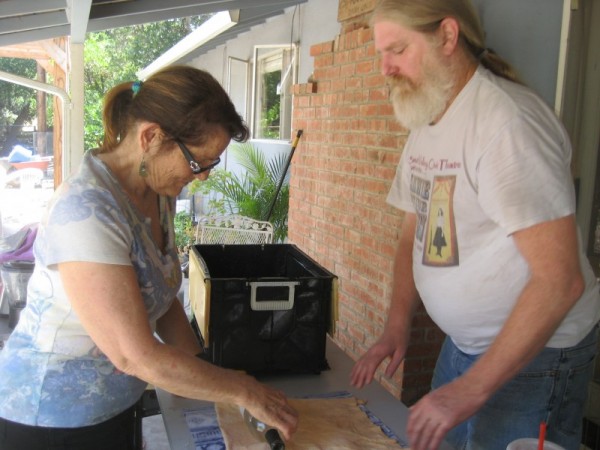
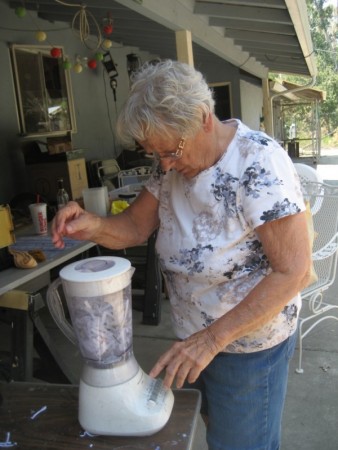
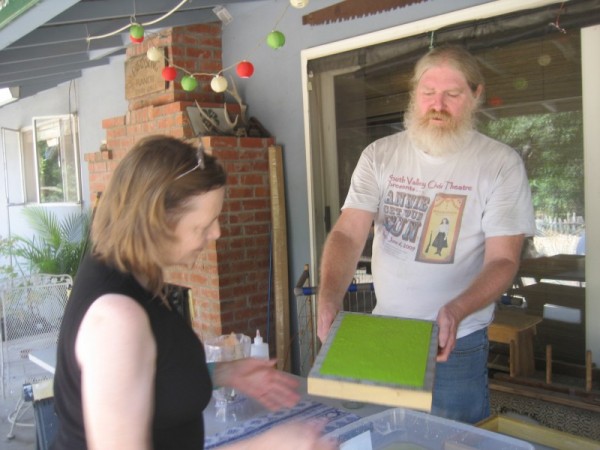
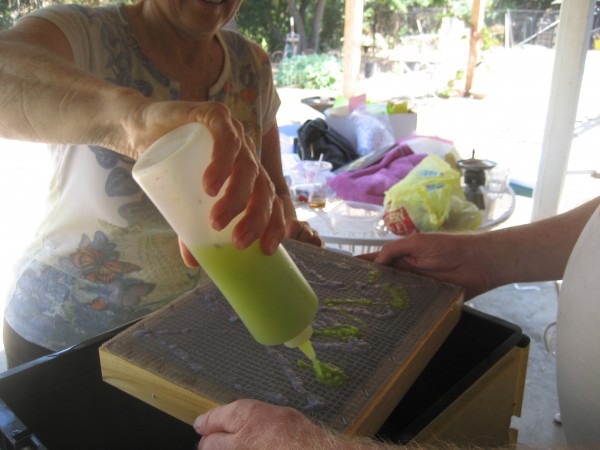
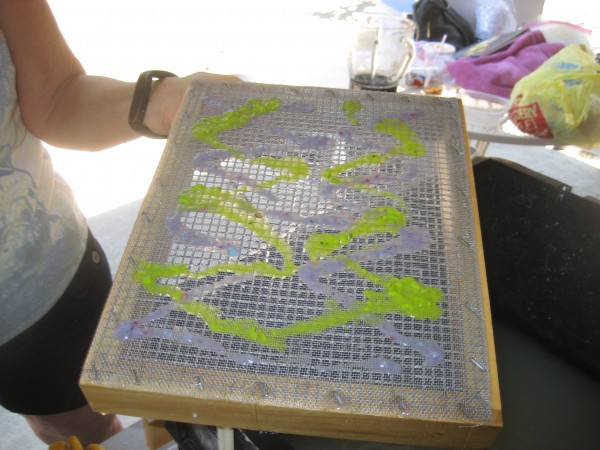
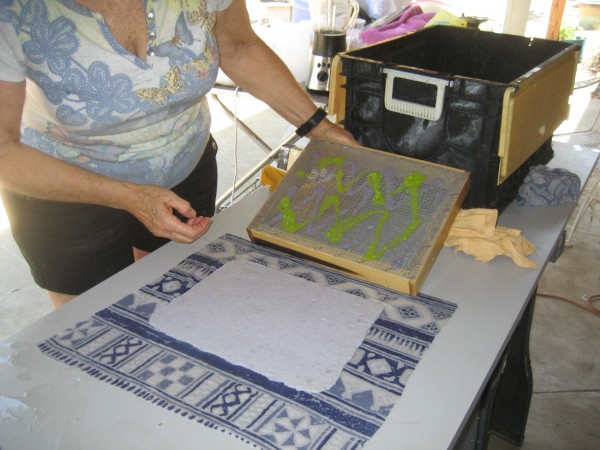
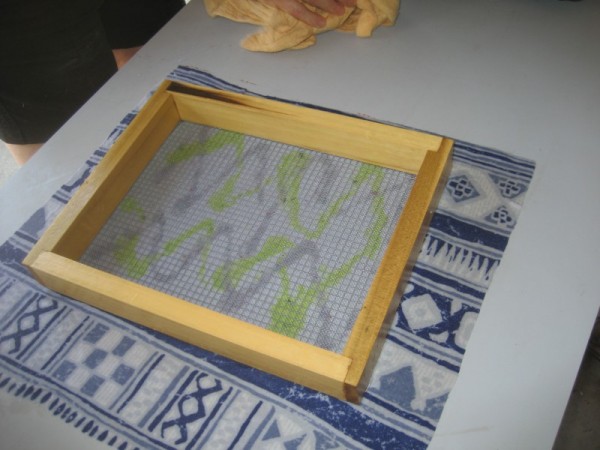
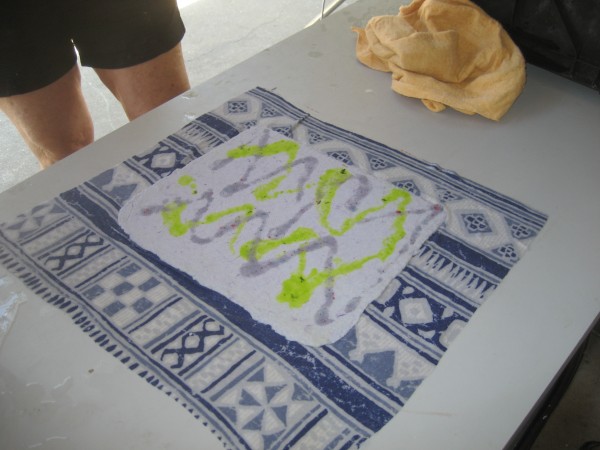
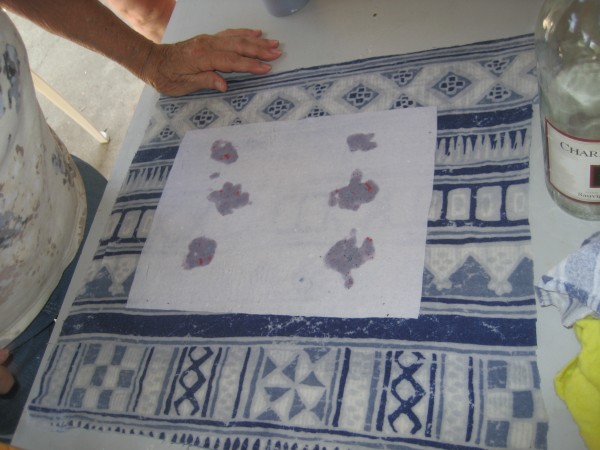
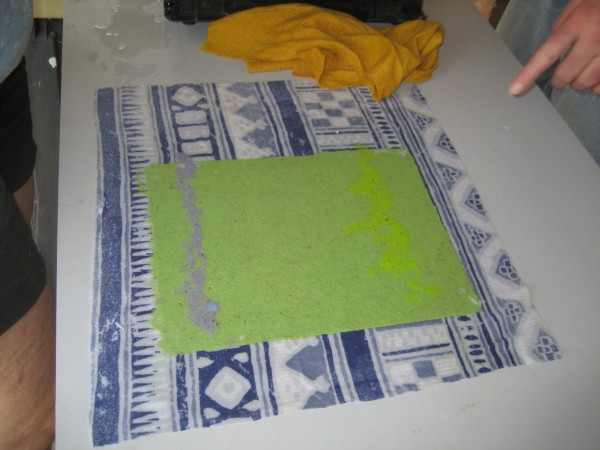
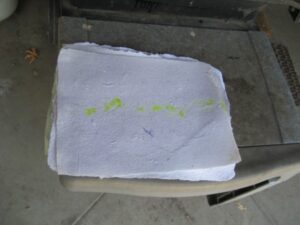
Today I got up and made 23 sheets of recycled paper. You guys inspired me with your use of color last week-end. This is 3/4 of the colored paper I recycled today.
August 2015, Paper Making on a hot day
A post from last August when Frank lead a day of recycling paper.
Next month we make books out of the paper that was made!
We used a 2-layer technique to paint on a piece of paper with different colored paper. Yes, painting with paper pulp not paint.
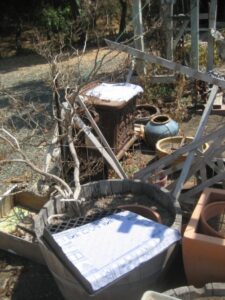
Paper was drying everywhere, even in the bird garden. Lots of paper was made and will be made into books next month!
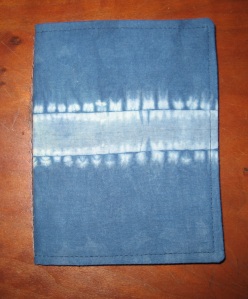
Frank’s refillable 2 signature cloth book cover
Frank’s cloth book cover Part 2
I increased the pattern by 1/8 inch both in height and width and things fit better.

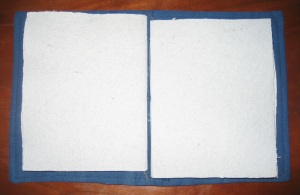
I like the contrast of the sunburst on both inside covers

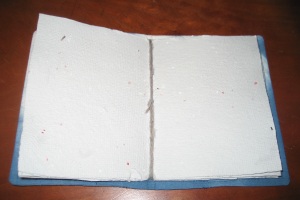
Note that the signature fit so much better that only one strand of yarn was needed to hold it in.
July 19, 2015 -Phyllis’s Medal and Overdyeing a Shawl
We had a fun meeting on July 19th, 2015 at the home of Phyllis Karsten. Phyllis just got back from the senior games and won a first place medal in her 90+ class. She just missed the world record by something like 40 seconds. Way to go Phyllis!

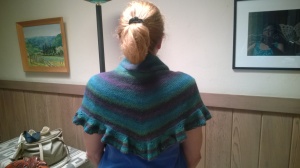
Sandy brought the extremely soft woolen shawl that Jean Shoe so expertly and lovingly made, like all her hand work. But we felt the colors were a little too bright for our tastes so Sandy did a quick indigo dip. It muted down the colors wonderfully. We were very happy with the results.

Frank’s Refillable Cloth Book Cover
Materials : cloth, fusible interfacing, thread, signature booklet, sewing machine.
I used hand spun yarn to hold the single signature in the cover.
If You wanted to have 2 or 3 signatures in the book, the cover would have to be wider and you would need more yarn loops to hold them more signatures in. These are minor adjustments once you understand how to make the single signature book.
Frank’s June Shibori Dyeing
Saturday I folded and sewed. I found ironing the folds on the clamped pieces made for more accurate folds. I also found ironing the straight pleats for sewing made the sewing easier.
Itajime shibori is a shaped-resist technique. Traditionally, the cloth is sandwiched between two pieces of wood, which are held in place with string
Nui shibori includes stitched shibori. A simple running stitch is used on the cloth then pulled tight to gather the cloth
These are my results
May 17, 2015 – Shar’s Shibori Resist Cloth
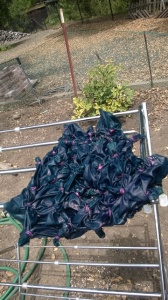
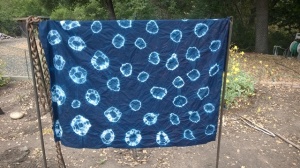
Our indigo pot was strong and hearty. I brought cloth to dip into the pot and decided to put little rubber band resists all over the cloth to see what it would do. I did one, two and three rubber bands in different places. The three rubber band method turned out the best. Shown in the photos is the cloth after one dip with rubber bands still in and one after the indigo had oxidized. I was very happy with the results.
Frank’s May Dye Project
I decided to do 2 small pieces 18 X 11 inches. These will be used for covering the covers of handmade books.
Piece #1 I accordion pleated the long way with 1 1/2 inch pleats, giving me an 18 inch strip 1 1/2 inch wide. Then I pleated the the other direction in 1 1/2 inch pleats. This gave me a cube that I tied several times around both directions.
Piece #2 I accordion pleated the long way with 1 inch pleats, giving me an 18 inch strip 1 inch wide. Then I tied the strip about every 2 inches.

I then dipped them in the indigo 3 times; The 2nd and 3rd time I dipped Piece #1, I opened the folds on the corners slightly.


Our dye pot was Strong so I only left the pieces in for 1 to 2 minutes.

Here are the pieces wet.
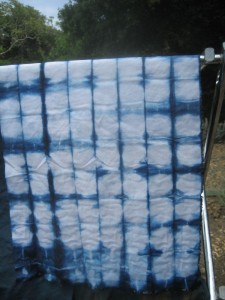
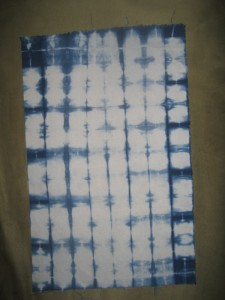


Very little dye rinsed out and there is no crocking. As you can see the darkest blues are almost as strong dry as they were wet!


