Dyeing with Earth Pigments

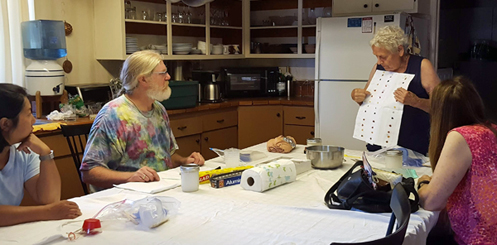
Today’s meeting found us experimenting with earth dyes. First we painted our fabric with fresh soy milk (see http://box19.ca/maiwa/pdf/EarthPigments.pdf ) in the areas where we wanted to use our dyes.

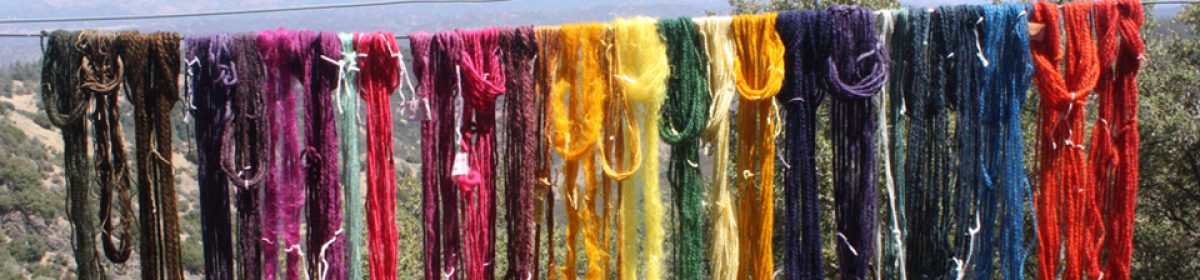
While we hung them out to dry, we chose our colors from The Dye Works natural pigments.

jars of dyeUsing a teaspoon of pigment mixed with a tablespoon of soy milk to dampen it, we made our initial colors stirring to make sure the pigment was thoroughly dissolved. stirring pigments with soy milkWe put our colors in small containers, carefully labelled them and tried to decide how we would decorate our fabric. storing pigments in containersAfter the pigments have been thoroughly dissolved, we found some thickened after setting. There still needs to be gum tragacanth thickener added to all the pigments to keep the pigment suspended and to prevent bleeding. It may also help make delicate designs easier to apply to the fabric.

Everyone will take the items we have prepared and decorate their fabric. We will post the results of this experiment in the future.

Progress!

Five of us met to continue tying off sections of our ikat warps. (Most of us only work on these the one day each month when we meet.) We are hoping to have them ready for the dyepot sometime this summer. Each will have a different pattern of threads that have been carefully bound together to resist the dye and will produce a white pattern on the final cloth. Thank heavens we have Natalie’s instructions on how to tie off each section posted here . We all needed a refresher course in how to bind the pattern threads. This is a slow, but pleasant, endeavor. It will be exciting to see how it comes out.

five ikat warps with ties on some warp threadsAnn is particularly ambitious and has the wide warp shown at the bottom. She is not following a rigid pattern like most of us but is making a free form design that she is creating as she ties each bundle of warp threads.

February’s Ikat Update

On Sunday, February 18, we met to continue our ikat project. Most people had their ikat frames warped and were ready to tie bundles of warp with tape that with resist the dye when we eventually dip the threads in an indigo dye pot. We found that Natalie was particularly adept at wrapping and tying her warp threads. Here is a video showing her technique.

November 19, 2017 – More ikat

Colorful ikat dyed scarfAfter our introduction to warping for ikat last month, we continued our projects. We found that we needed plenty of space to stretch out our warps in order to prepare them for tying off areas that would resist the dyes we would later use. And several of us found that it would have been easier to start with smaller warp widths than we had imagined for or projects. For example, Frank had used nine separate warp chains to weave the beautiful scarf shown above.

To accommodate our long warps, one of our members who works for Google took advantage of using the “Garage”, a work-space on the Google campus that employees can reserve for creative endeavors. It worked perfectly, allowing us to stretch out our warps and start bundling and tying them for dying.

Interior of the Google "Garage"One of us just starting the project learned from the experience of some of the rest of us and wound a warp for a 2-inch wide project. She easily caught up with others struggling with much wider warps.

a narrow warp And Shar, who had a disaster last month when her warp accidentally was severed, has forged ahead and is already wrapping her warp threads threads to resist the dye.

wrapping bundles of threads with plastic tapeThe saga will continue in upcoming months.

October 29, 2017 – Planning the ikat warp

Today some of us started planning our ikat warps under the experienced eye of Frank and with the help of the instructions that can be found here. Some of us used a warping board and some used a frame, but the challenge came in twining around designated bundles of warp threads that will be wrapped to exclude the dye. Next month we will proceed to the next step.

Using a warping board
Using a frame
Stretching the warp


October 27, 2017 – Madder Matters

For some time we have had access to madder root to use to make a lovely red dye. Phyllis bought a single madder plant some years ago and it has turned into a fairly sizable madder patch that is occasionally dug and the roots used to create the dye. Some of the plant material is returned to the patch, sprouts, and the cycle starts anew. But Phyllis is moving to a new location. So the madder is being relocated to a garden patch in the Santa Cruz Mountains. Today Phyllis helped search through the recently dug madder and selected some chunks of dirt that contained minuscule root shoots. These have now been incorporated into a bed about 4×9 feet. Will they take hold and sprout in their new locale? Only time will tell.

Phyllis selects madder roots
Madder roots ready to plant
Wool dyed with madder

September 17, 2017 – Starting our ikat project

Frank presented a detailed, hands-on overview on how to get started on a project that will continue for a few months. Ikat is a dyeing technique used to pattern textiles. Bundles of warp threads are tied securely before they are woven so that they will resist dye when they are immersed in a dye bath. The ties are then removed before being put on a loom. This produces patterns in the cloth made with the undyed areas of threads. It is a time-consuming technique used by a number of cultures.

Frank had a warp that he has created that is ready to dye. In the photo the areas that look red and purple are warp threads that are tied together with red and purple plastic tape that is designed to keep dye from the threads. These areas will remain white when the warp is immersed in a dye bathe. The frame is simply a way of holding the threads taut so they can be tied with this tape in a pattern that the weaver would like to leave undyed. The warp threads will be removed from the frame, dyed, and then the tape will be removed before they are threaded onto a loom for weaving.

undyed warp stretched on frameThe process of putting the warp on the frame and tying the bundles is complex and exacting. We spent much time learning how it was done and planning projects to create. More will be happening in the next months.

This is a video of member Phyllis Karsten tying a piece of plastic resist onto a bundle of yarn:

[wpvideo oyff4ha1 w=400]

The Industrial Revolution’s Latest Conquest

Photo of Deborah ChandlerDeborah Chandler, a name well-known in the weaving world, has been working for many years with Guatemalan handweavers to help them find a way to sell their beautiful work at a fair price to help support their families. But she also understands the economic challenges this creates. This is a thought-provoking discussion of the dilemma faced by handweavers, as well as many artists and craftsmen, not just in Guatemala, but throughout the world.

Source: The Industrial Revolution’s Latest Conquest

May 21, 2017, Meeting

On this warm day we met to once again experiment with our indigo pot. There were seven of us: Phyllis, Sandy, Sharolene, Ann, Anne, Natalie, and Laura.

indigo dyed garments hanging on the fence


Ann’s shawl on the left was originally bright pink until it was dipped into the indigo pot. And her shirt on the right was bound into pleats with rubber bands at the neck and the hem for a decorative resist when in went into the pot.

Natalie, one of our new members, is also learning to spin on a wheel that has a history and is in need of some tweaking. Several of us helped her determine that there was a bit of a wobble when the wheel went round but we think she can make an easy fix.

old spinning wheelShe was also able to experiment with a simple resist pattern dipped into the indigo pot.

a cloth decorated with areas of white on a blue backgroundLaura was our guest who has been fascinated to learn more about indigo. She changed some items in her wardrobe from white to rich indigo blue.

three tops dyed with indigoWe experimented with immersing items in the dyepot for a longer period of time versus repeated dips to see if there was a color difference. There did not appear to be but we will see if the color fades less in the one we left in the pot longer.

We also discussed ways to connect with others like Natalie and Laura who might like to share in our adventures with spinning, dyeing, and weaving. A very nice day!