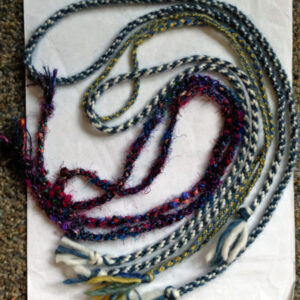
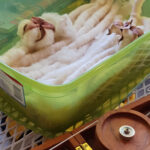
We had our usual indigo dye pot and a cochineal dye pot as well. (Cochineal comes from a small beetle that lives on cactus pads!) We are also making kumihimo lanyards for the Conference of California Handweavers (CNCH) meeting in 2018. Here are some photos of some of our efforts. Of course, Phyllis’s dog Flicka had to take a look too.
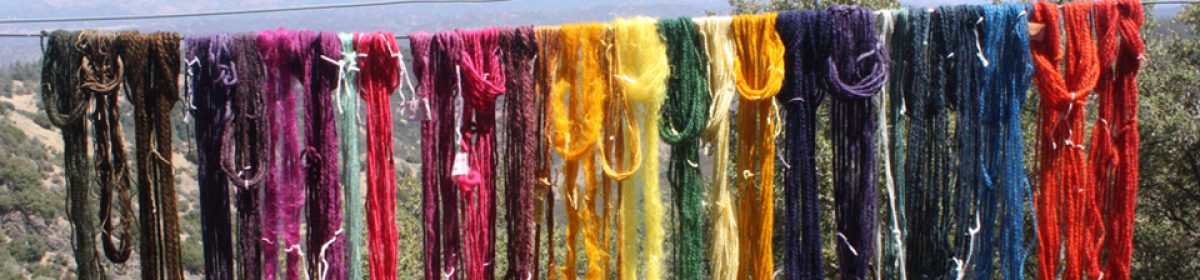
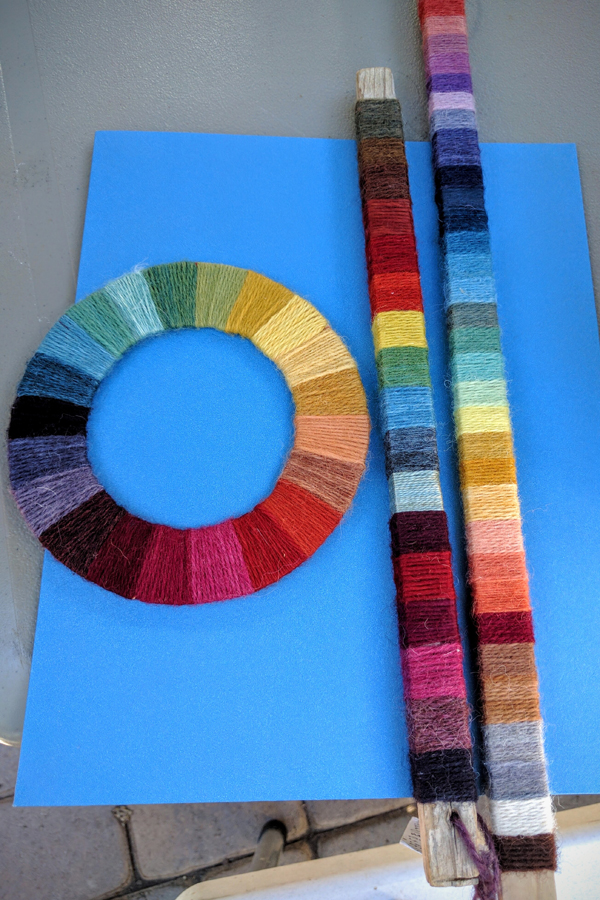
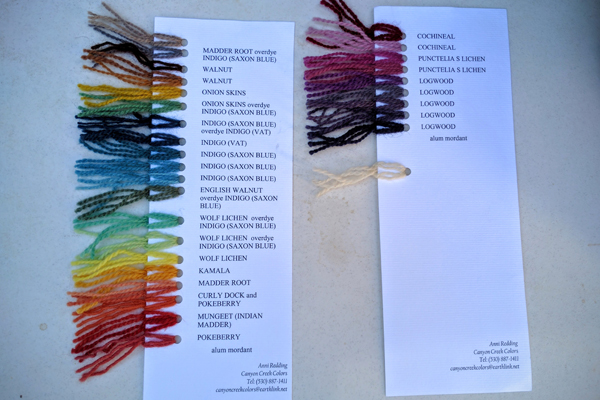
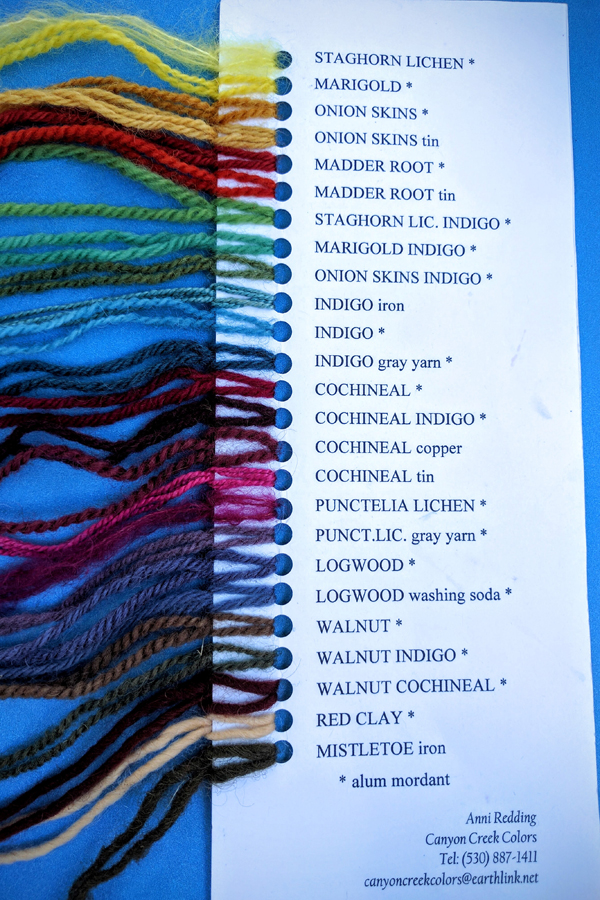
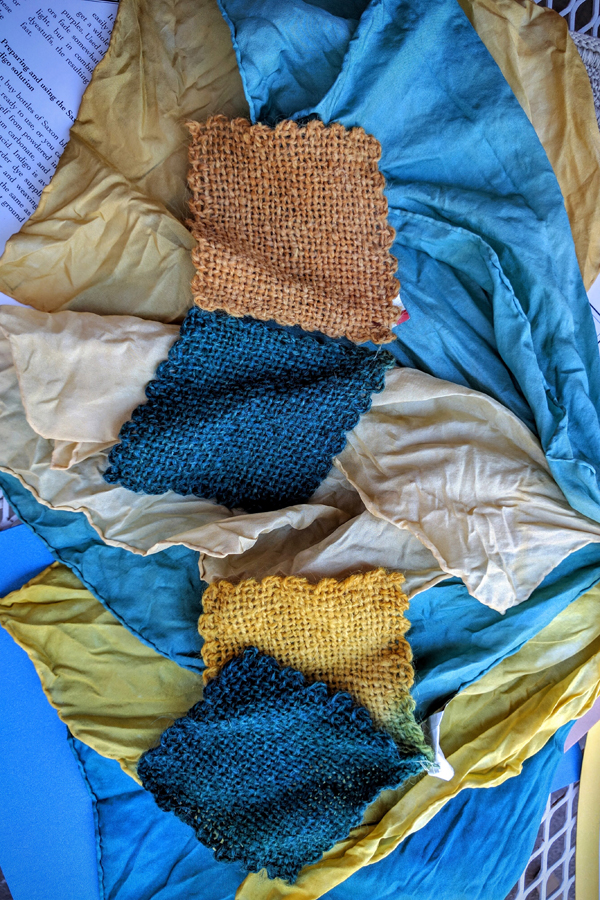
Using natural osage orange, cochineal, and indigo to produce a wide range of colors.
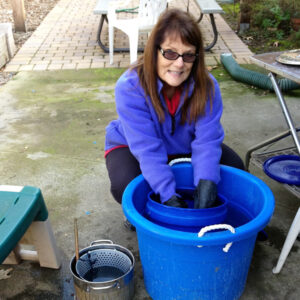
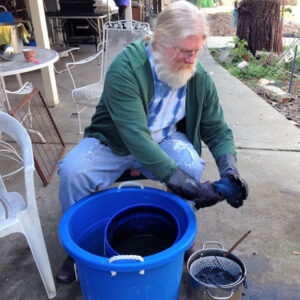
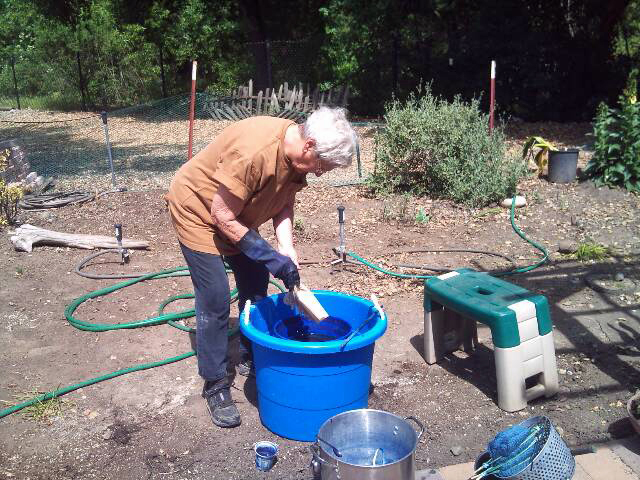
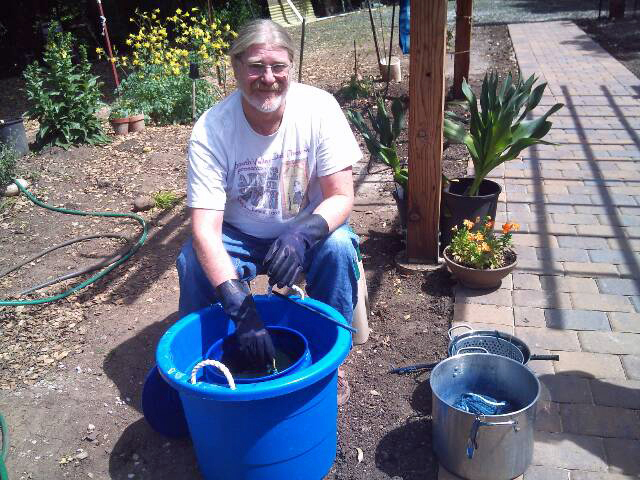
We met, as usual, in Phyllis’s back yard on one of the hottest afternoons of the year. We came prepared with fibers and fabrics that had earlier been soaked in an alum solution (called a mordant in fabric talk). There are various elements that can mordant fiber. All help the dyes fix to the fabric and often affect the kind of color the dyes provide. Alum is a safe and easy-to-use mordant.
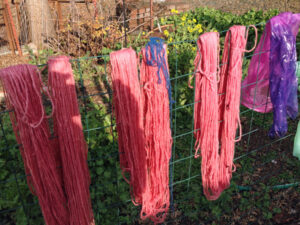
We are always interested in learning what we can about using natural dyes produced by plant and animal products as opposed to dyes created in a chemical lab. People have used these dyes for thousands of years to provide color in there fabric and sometimes even to paint their bodies. (We are sticking to just the fabrics.) Today we are using osage orange (Maclura pomifera) twigs and cochineal (Dactylopius coccus) produced by tiny bugs that live on cactus plants. We will also use some indigo (a plant dye that produces blue) on some of our fibers after they have been dyed yellow or red.
Anni introduced us to the wide range of colors that can be produced by natural dyes.
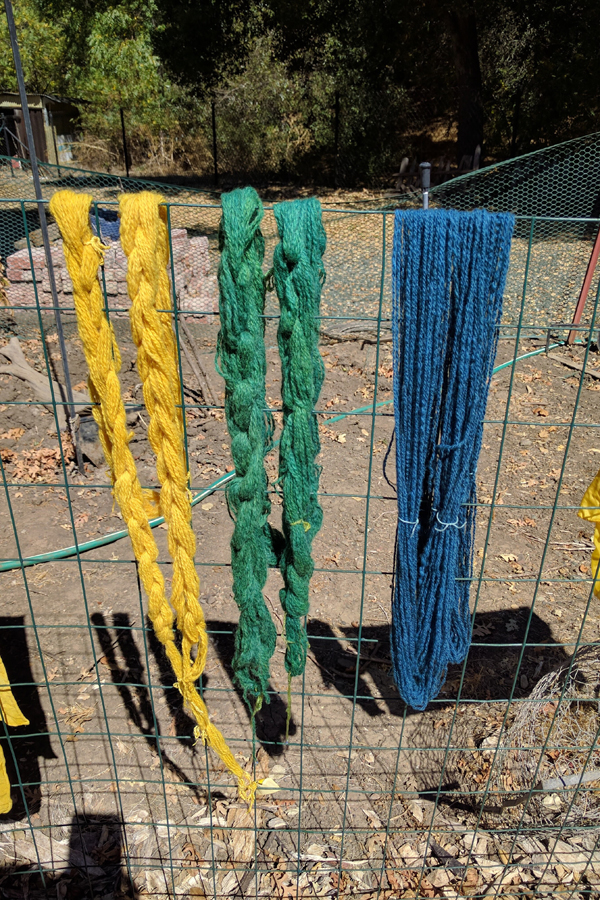
We then set to work with our own fibers. Here are some of the results of our day of dyeing.
On a perfect summer day we met at Phyllis’s to prepare for our dye workshop next month. We needed to mordant our yarns and fabrics to prepare them to “take” the cochineal and osage orange dyes we will use next month. For dyers a mordant is “asubstanceusedindyeingtofixthecoloringmatter“. In our case we are using alum.
After weighing all our fibers, we soaked them thoroughly to ensure they were wet throughout:
We measured alum by weight, using one-tenth the weight of the dry fiber, and put it into a small bit of water which we heated to dissolve the alum. After removing our thoroughly wet fiber from the pot and wringing it out, we added the alum and fiber to large pots of water, heated it and simmered it for an hour.
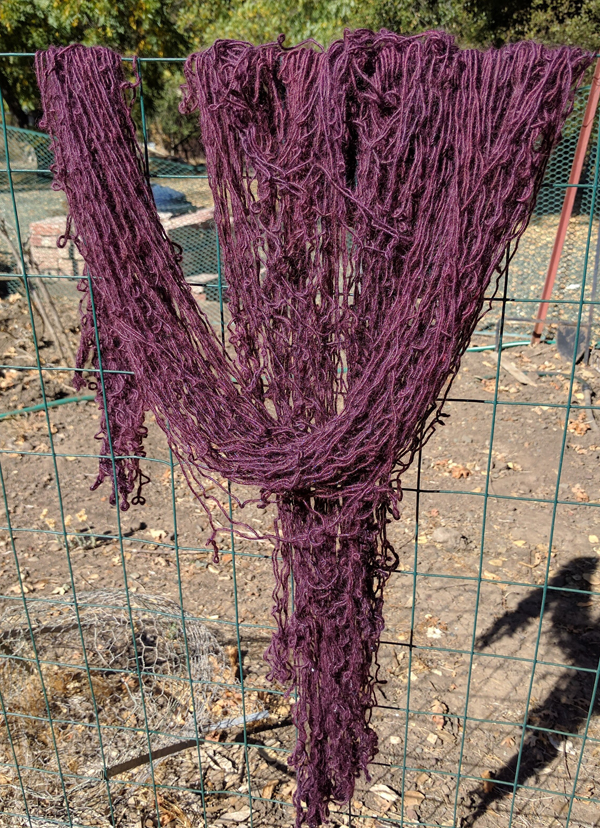
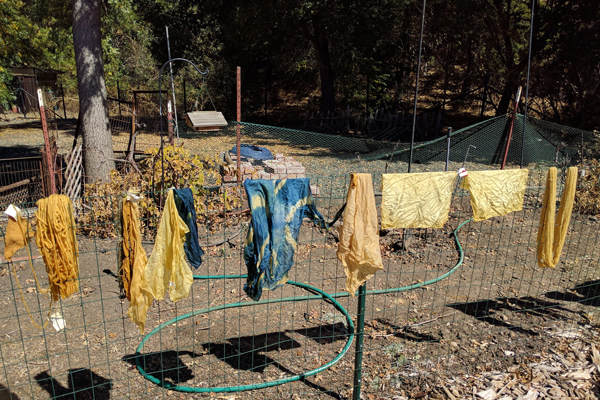
And then we hung the fiber on the fence to dry.
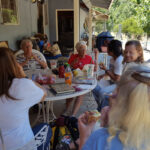
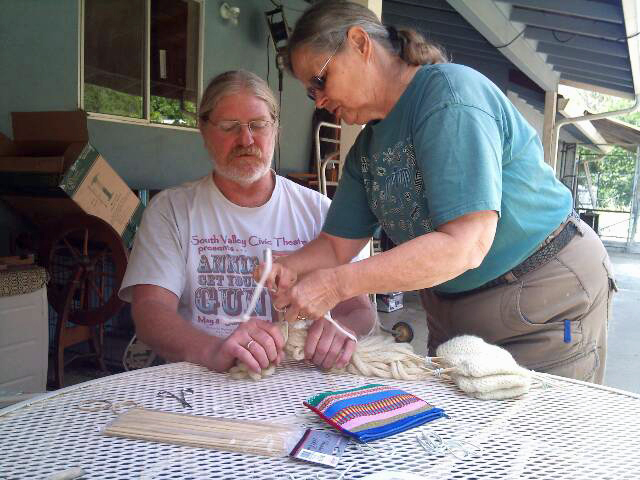
While all this was happening, we had plenty of time to talk and show each other our latest projects.
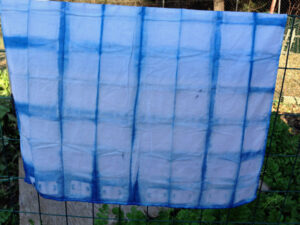
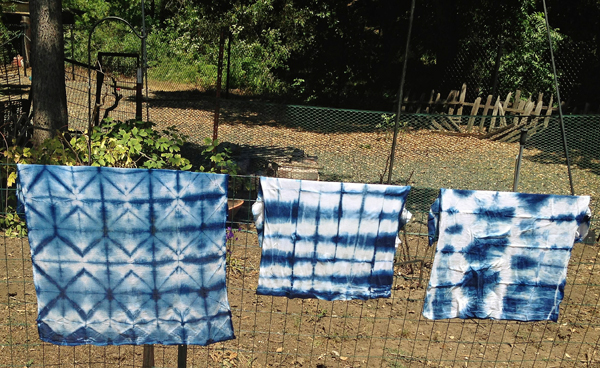
Our meeting on a beautiful Sunday afternoon had us dipping into the indigo pot again. Once again we experimented with the results of various ways of patterning our fabrics.
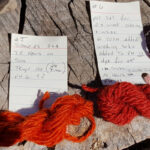
And Shar processed some madder root for a red dyebath some day.
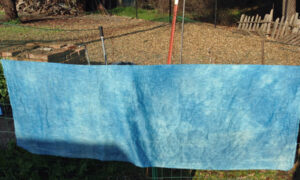
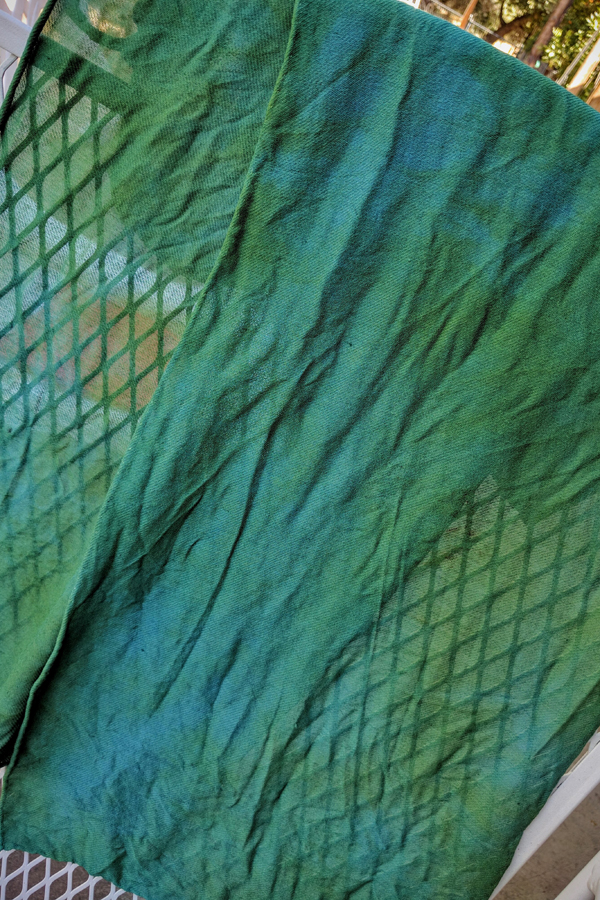
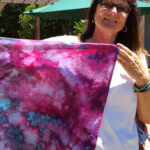
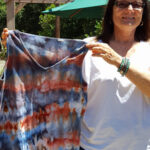
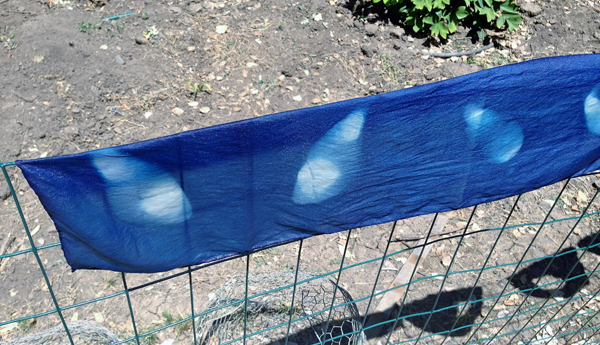
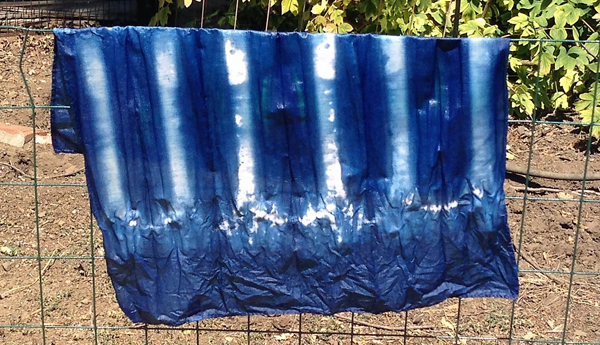
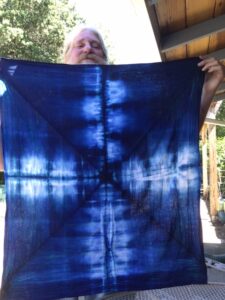
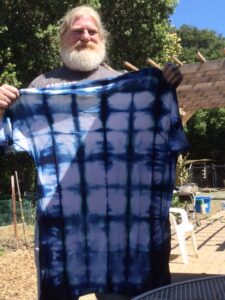
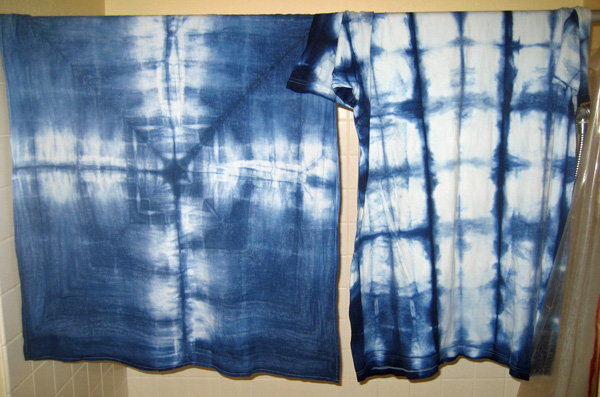
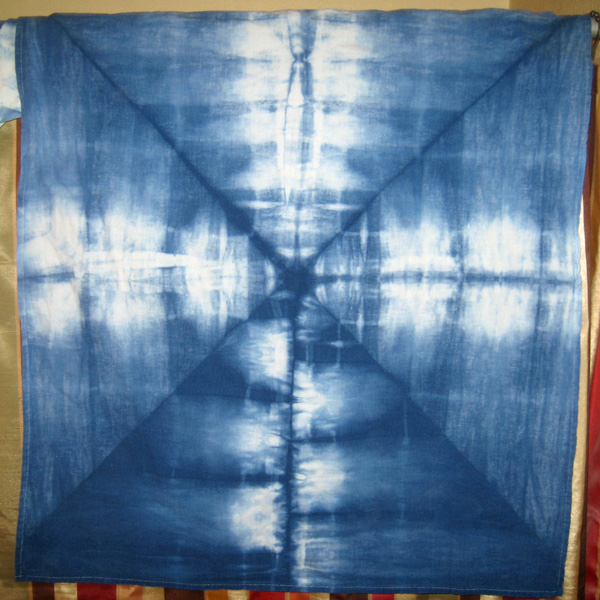
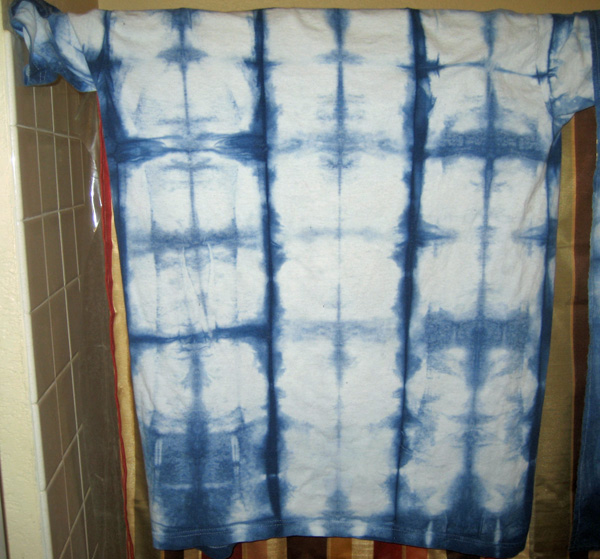
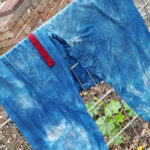
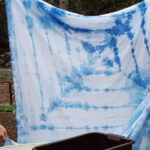
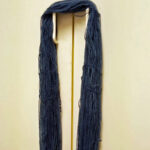
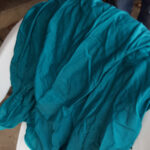
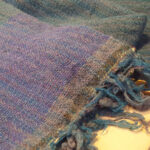
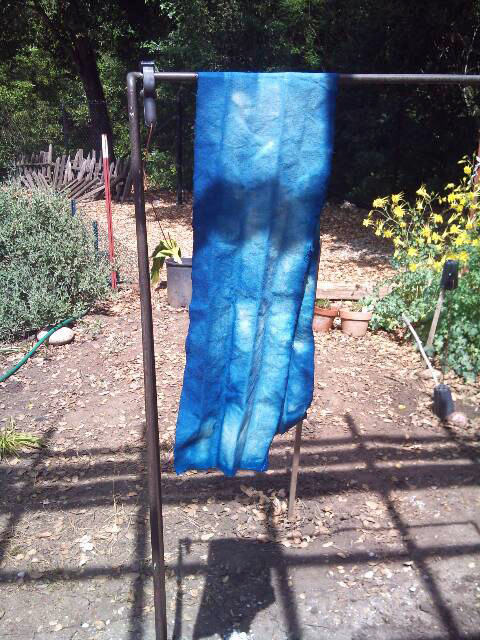
We had a lovely meeting with just a few choice members showing up: Sharolene, Frank, Lotus, Marcia and Phyllis. We continued with our indigo-dyed shibori project. There are some interesting comparisons of wet versus dry indigo in these pics. They are duplicated to show how much darker the wet indigo is.
Wet indigo towel
Wet indigo shirt
Wet indigo towel
Folded shibori indigo piece
Rinsed and hung to dry
After going through the washer and dryer
After going through the washer and dryer
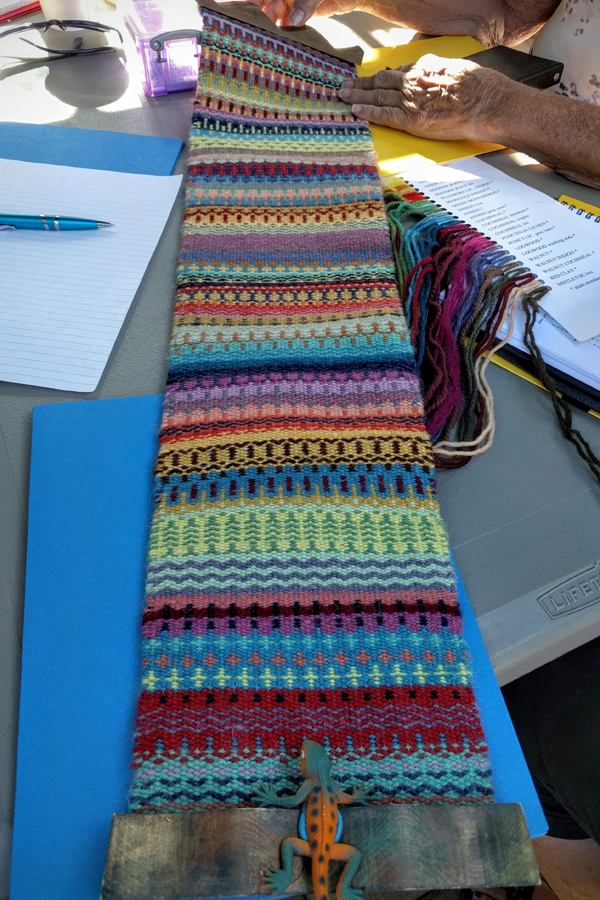
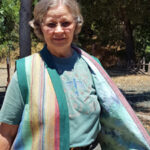
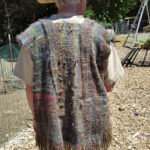
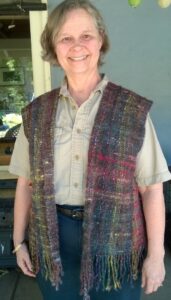
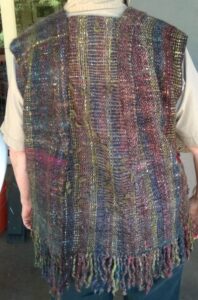
This is Lotus Baker’s handspun handmade beautiful vest that she made for the CNCH fashion show a couple of weeks ago. You can’t tell by the look of it but it has a wonderful feel and drape. She made it using plain weave on her rigid heddle loom. These photos don’t do it justice.
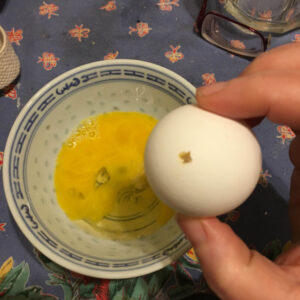
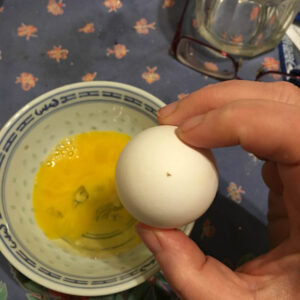
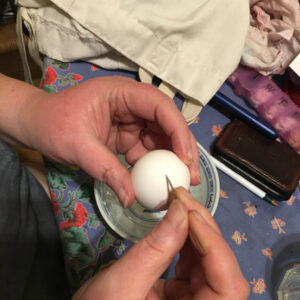
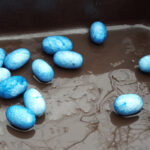
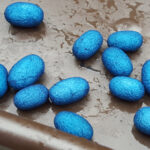
We are planning to dye eggs for Easter at our meeting tomorrow. Although we have done this before, sometimes the hard boiled eggs have not fared well. One of our members has given us a tip on how to prepare our eggs for a longer lasting outcome. Here are her instructions:
I do a larger hole on the big end and just a little hole on the small end of the egg; scramble the yolk with the needle, and blow things out the bottom. We always rinsed ours. Bring copper wire to make a ring-and-handle big enough to press your egg down into your dye-cup while it fills with liquid, and to hold it up while it drains again.
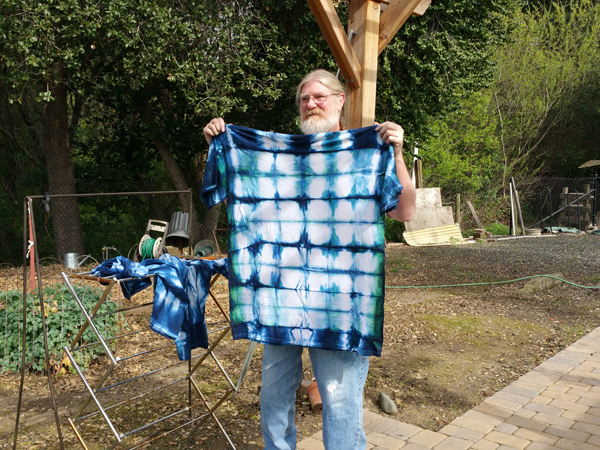
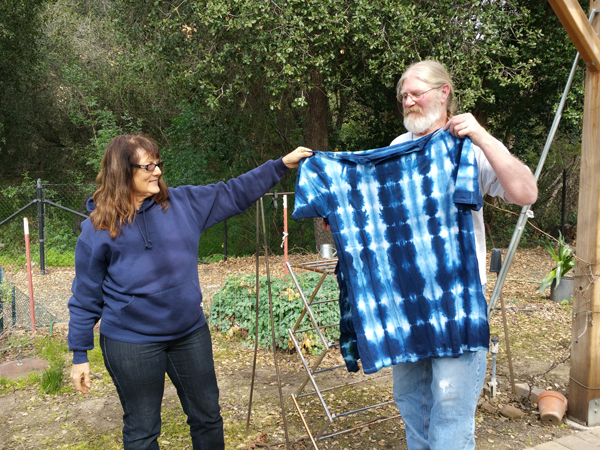
We had a lovely day outside at Phyllis’s and the results of our resist dyeing paid off in spades with Frank’s shirts. They are stunning. The indigo pot was perfect and they were dipped several times with different members doing the timing after the timer–OOPS–was accidentally dropped in the water. Once they are dry we need to have good pictures of Frank wearing them.
The rain held of long enough for us to use the patio for the indigo dye pot. Sandy, Phyllis, Carol, Lotus, Elaine, Marcia and Anne used the pot and shared other projects. The indigo pot has been in use for around twenty years! and just needs a little refreshing and warmth to get it back up to speed each month. Here are some of the items we dyed.
Pajamas that picked up unwanted color in the wash
Pajama top
Elaine’s shibori
Silk cocoons – first dip
Silk cocoons – second dip
White handspun yarn – first dip
Squeezing out the indigo
Yarn hanging up to dry
Overdying a turquoise pillow case
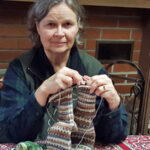
There were other activities too. Lotus brought some yardage she has woven in plain weave on a rigid heddle loom from yarn leftover on weaving bobbins. While she was here, she worked on socks she is knitting from the toe up with both socks being knit at the same time on circular needles. Sandy used her sewing skills to mend a beautiful quilted Mung jacket that belongs to Phyllis.
Yardage from leftover yarn
Knitting socks
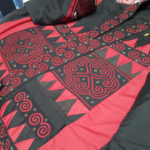
Phyllis’s Mung jacket
There were probably other things going on too, but this is a sampling.
We met in Phyllis’s back yard. Sandy prepared the indigo pot, making sure the chemical balance was working well to produce this natural blue dye.
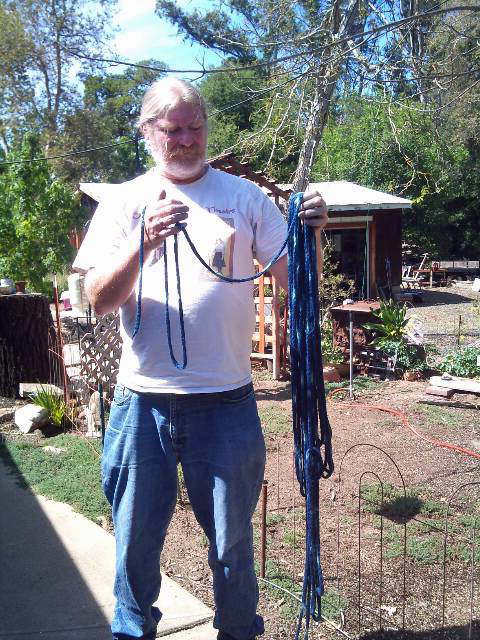
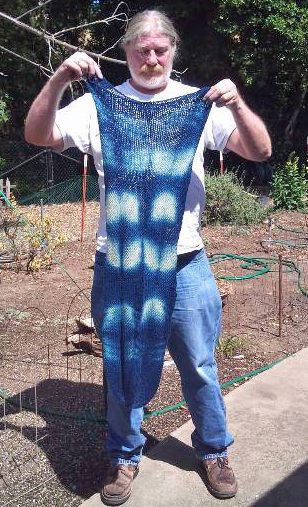
Frank had knitted a bag that he was going to felt. But before it was felted, he wanted to dye it in the indigo bath.
The bag and strap were tied in areas where he wanted it to resist the dye.
Although the dye appeared to be weak, he dipped all pieces four times and got a beautiful dark blue that did not crack off when washed and rinsed in vinegar.
Next he will felt it and we will see the results next month.